Unit Counters
Age of Empires II uses a counter system where many units deal bonus damage versus specific unit types. Counters are not absolute: numbers, upgrades, timing, and positioning all matter. This page focuses on simple, reliable responses for new players. See how counters fit into full compositions.
How to use this page
- Start with the card title under You are facing.
- Use Use These Counters first - these should work best in most situations.
- Use Other Counters as still-good options when your first choices are unavailable.
- Counters are not automatic wins, but they should still give you a practical advantage with good numbers and upgrades.
Power Units 
You are facing
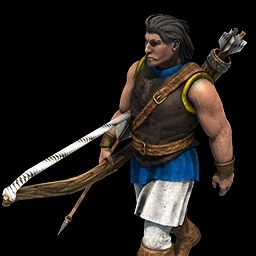
Archers line
Use These Counters
-
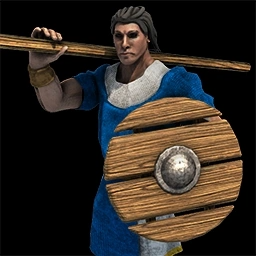
Skirmishers
Cheap anti-archer unit that tanks arrows efficiently.
-
Knights
Fast cavalry closes distance and forces ranged units to disengage.
Other Counters
-
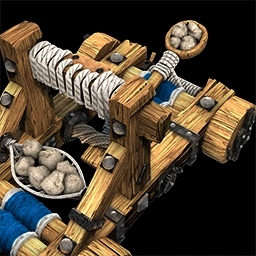
Mangonels
One good shot can punish clumped archer groups.
-
Light Cavalry
Mobile cleanup option when you cannot afford heavy cavalry.
You are facing
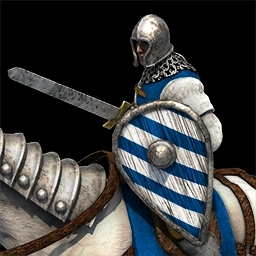
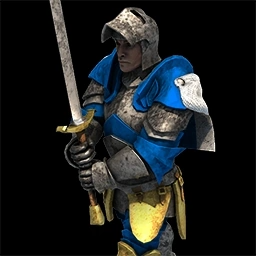
Knights
Use These Counters
-
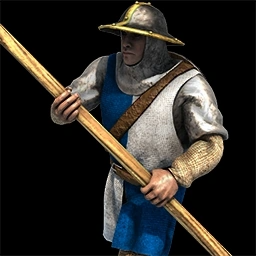
Spearman line
Spear line deals strong bonus damage versus cavalry.
-
Monks
Conversions swing expensive cavalry fights instantly.
Other Counters
-
Camels
Camels trade efficiently into mounted units.
You are facing
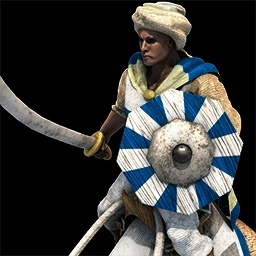
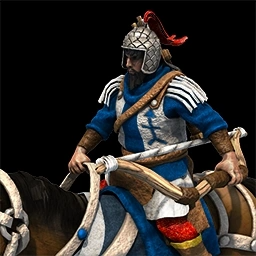
Cavalry Archers
Use These Counters
-
Skirmishers
High pierce armor and bonus damage versus archer units.
-
Knights
Mobile units can chase and punish overextended kiting.
Other Counters
-
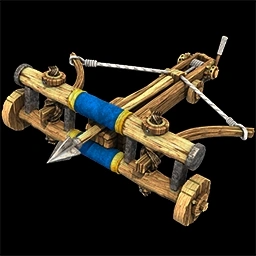
Scorpions
Projectile lines punish cavalry archer clumps.
-
Camels
Extra mobility helps screen and trap retreat paths.
You are facing
Camels
Use These Counters
-
Spearman line
Spear line remains cost-effective into any cavalry type.
-
Archers line
Ranged focus fire punishes camel units before they connect.
Other Counters
-
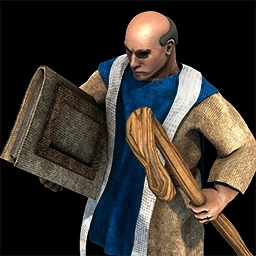
Militia line
Solid frontline option when you need extra melee support.
You are facing
Militia line (Infantry)
Use These Counters
-
Archers line / Hand Cannoneers
Ranged damage picks infantry before they reach your line.
-
Scorpions
Piercing bolts and splash punish grouped infantry pushes.
Other Counters
-
Mangonels
Siege splash helps break dense infantry formations.
You are facing
Eagles
Use These Counters
-
Militia line
Infantry line trades efficiently into Eagle units.
-
Scorpions
High pierce damage and area coverage punish Eagle dives.
Other Counters
-
Knights
High base stats help hold while transitioning composition.
You are facing
Monks
Use These Counters
-
Light Cavalry
Fast and cheap way to snipe monks before conversions land.
-

Eagles
High speed and pierce armor make monk snipes reliable.
Other Counters
-
Archers line
Ranged pressure helps pick monks before conversions snowball.
-
Skirmishers
Support chip damage while your melee units close in.
You are facing
Champi
Use These Counters
-
Militia line
Trades efficiently in direct melee, especially with upgrades.
-
Knights
Mobile cavalry can force efficient trades in open fights.
Other Counters
-
Scorpions
Good support if Champi units are clumped in frontline fights.
You are facing
Fire Lancers
Use These Counters
-
Archers line / Hand Cannoneers
Low pierce armor makes them vulnerable to sustained ranged fire.
-
Militia line
Shock infantry trades are favorable with enough upgraded numbers.
Other Counters
-
Scorpions
Projectile lines are a solid backup versus dense formations.
-
Onagers
Siege splash can punish grouped fire lancers hard.
You are facing
Hand Cannoneers
Use These Counters
-
Skirmishers
High pierce armor makes skirmishers cost-efficient here.
-
Onagers
Siege splash can punish grouped hand cannoneers hard.
Other Counters
-
Scorpions
Projectile lines are a solid backup versus dense formations.
-
Knights
Fast cavalry can close distance and punish exposed gunpowder.
You are facing
Battle Elephants
Use These Counters
-
Spearman line
Spears deal strong bonus damage and trade cost-efficiently.
-
Monks
Conversions are high value against expensive elephant units.
Other Counters
-
Cavalry Archers
Mobile ranged kiting can chip elephants before melee contact.
Trash Units 

You are facing
Spearman line
Use These Counters
-
Archers line / Hand Cannoneers
Range and micro punish slow spear units safely.
-
Skirmishers
Cheap ranged support that helps win sustained trash fights.
Other Counters
-
Militia line
Solid melee trade when you already have barracks upgrades.
-
Scorpions
Line splash punishes clustered trash armies.
You are facing
Skirmishers
Use These Counters
-
Knights
Cavalry closes quickly and ignores skirmisher chip damage.
-
Mangonels
Siege shots punish slow skirmisher formations.
Other Counters
-
Militia line
Melee pressure can clear skirms in sustained fights.
-
Light Cavalry
Budget mobility option to force bad skirmisher fights.
You are facing
Slingers
Use These Counters
-
Light Cavalry
Fast dives exploit minimum range and low base attack.
-
Knights
High mobility and armor close distance quickly.
Other Counters
-
Mangonels
Good shots punish grouped Slingers if you protect siege.
-
Archers line
Can trade well at range with strong micro and spacing.
You are facing
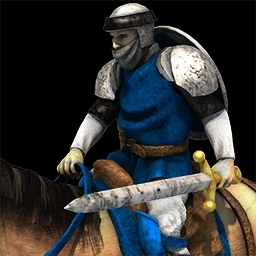
Light Cavalry
Use These Counters
-
Spearman line
Bonus damage and low cost make spear line very efficient.
-
Camels
Mobile cavalry answer that keeps up with raids.
Other Counters
-
Militia line
Solid melee support to hold raids when cavalry numbers are low.
Siege Units
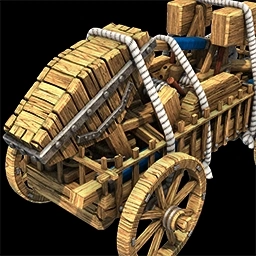
You are facing
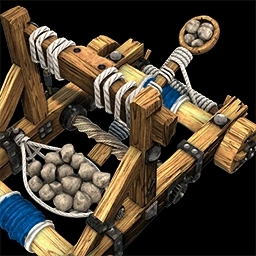
Mangonel / Onager
Use These Counters
-
Light Cavalry
Fast flank attack can snipe siege before big shots land.
-
Bombard Cannons
Long-range siege duel option in late-game fights.
Other Counters
-
Eagles
Speed lets you dive siege lines from open angles.
-
Your own Onagers
Mirror siege control if cavalry access is limited.
You are facing
Scorpions
Use These Counters
-
Knights
Armor and speed allow direct dives onto scorpions.
-
Mangonels
Siege splash breaks grouped scorpions effectively.
Other Counters
-
Light Cavalry
Cheap mobility for repeated snipes and map pressure.
-
Bombard Cannons
Long-range pickoffs when you can protect them.
You are facing
Rams
Use These Counters
-
Melee Units
Melee attacks shred rams much faster than arrows.
-
Knights
Mobility helps clear rams and return to the main fight.
Other Counters
-

Villagers (Emergency)
Can quickly delete rams hitting key buildings.
You are facing
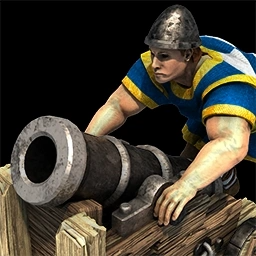
Bombard Cannons
Use These Counters
-
Light Cavalry
Fast flanks punish exposed gunpowder siege.
-
Eagles
High mobility enables clean backline snipes.
Other Counters
-
Bombard Cannons
Counter-fire works when both players have siege lines.
-
Trebuchets
Useful in static pushes where you have protection.
You are facing
Trebuchets
Use These Counters
-
Light Cavalry
Best way to quickly snipe unpacked treb lines.
-
Bombard Cannons
Long-range shots pick trebs without full engages.
Other Counters
-
Trebuchets
Mirror siege duel when map is closed and protected.
-
Eagles
Fast castle dives can remove backline trebs.
Unique Units
Unique units often break counter rules. Coming soon.